11. SC on RPi
26 Jan 2018Fredrik Olofsson is my hero and has an incredibly convenient SuperCollider standalone to run SC on our Pi's. It's worth bookmarking his repo on the off-chance that something changes later or you need to revisit some instructions in the future. You should have two versions of this installed on your rpi: 1 under the pi user and the other under the user you created on Tuesday.
Running SC on RPi
Interactive
The most basic way to run SuperCollider on RPi is the method you used to confirm that SC works on your new user in Fix Things for New User:
cd supercolliderStandaloneRPI2xvfb-run --auto-servernum ./sclang -a -l sclang.yaml
Once Jack and SC are done booting you should see something like this:
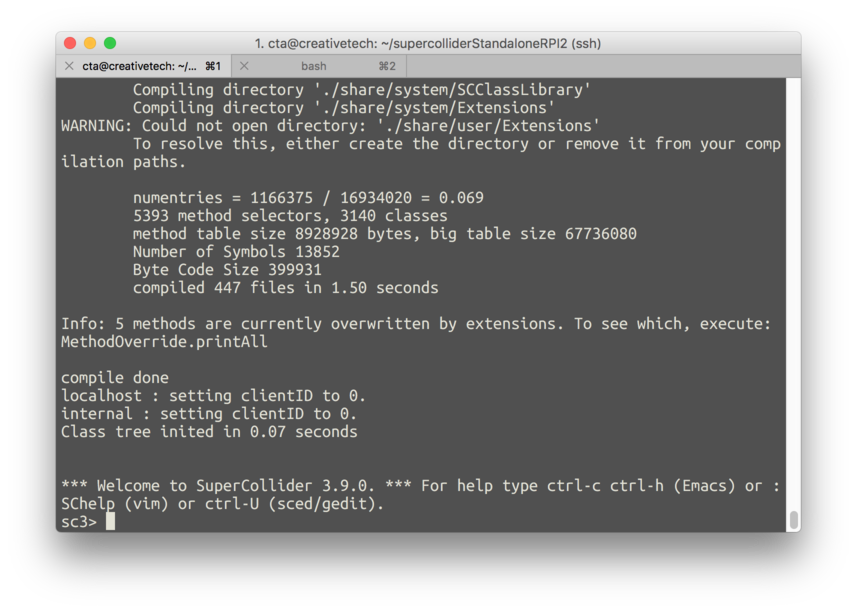
If you wanted to run code line-by-line, or troubleshoot why something is leading to problems on the Pi specifically, this would be a logical way to start SC.
Running a Specific File on Boot
Frederik's SC Standalone Repo has one example .scd file in it called mycode.scd. Click here to view it in the browser.
Here we see a previously unfamiliar Server method: .waitForBoot. If one wants to boot Jack, SC, and run a particular .scd file one needs to wrap one's code in s.waitForBoot. For more information on this method see the Documentation.
Running a File on Boot with SC is only slightly different than the way one launched the program for Interactive Programming. Try the following to run the mycode.scd example included with the SC Standalone:
cd supercolliderStandaloneRPI2xvfb-run --auto-servernum ./sclang -a -l sclang.yaml mycode.scd
Note that the only difference between these two methods for starting SC on your Pi is the presence of a particular filename in the latter example.
Communicating with SC from Your Laptop
Interestingly enough the example we were using to play sound on a partner's laptop via OSC can be repurposed, with some minor changes, to control sound playing on one's RPi from a laptop. First the code:
Receiver
// receiver on a pi example

s.latency= 0.05;

s.waitForBoot{

    // the example synth that will be controlled. note the standardized arguments: amp, freq, trig

    SynthDef( \sin, { | amp = 0.0, freq = 440, out = 0, trig = 0 |
        var env, sig, finalSig;
        env = EnvGen.kr( Env.asr( 0.001, 0.9, 0.001 ), trig, doneAction: 0 );
        sig = SinOsc.ar( freq, 0.0, amp );
        finalSig = sig * env * 0.6;
        Out.ar( out, Pan2.ar(finalSig) );
    }).add;


    // receive messages from another computer to change Synth at ~x

    OSCdef(\sinResponder, { | msg |

        msg.postln;

        switch( msg[1],
            '/run',{
                "starting the synth".postln;
                ~x = Synth( \sin, [ \freq, 400, \amp, 0.8]);
            },
            '/play', {
                "play sin".postln;
                ~x.set(\trig, 1);
            },
            '/stop', {
                "stop sin".postln;
                ~x.set(\trig, 0);
            },
            '/vol', {
                ("vol "++msg[2]).postln;
                ~x.set(\amp, msg[2].asFloat );
        },
            '/free', {
                "freeing synth".postln;
                ~x.free;
            });
}, '/sin');

};
Sender (Line-by-Line Version)
s.boot;

// setup

(
~ip = "";
~x = NetAddr(~ip, 57120);
)

// sending messages

// make the synth

~x.sendMsg('/sin', '/run');

// turn the other computer's sin on

~x.sendMsg('/sin', '/play');


// turn the other computer's sin off

~x.sendMsg('/sin', '/stop');


// change the other computer's sin's volume (try different numbers between 0.0 and 1.0)

~x.sendMsg('/sin', '/vol', 0.99 );
Sender (GUI Version)
To control a remote synth from your laptop via GUI one can repurpose our example from GUI Basics to the following:
// sending messages via GUI


// setup

(
~ip = "";
~x = NetAddr(~ip, 57120);
)


(

// run the remote synth first

~x.sendMsg('/sin', '/run');

// the GUI

~window = Window.new("my window", Rect(0,0,150,220))
    .onClose_({
    "GOODBYE".postln;
    ~x.sendMsg('/sin', '/free');
});

~button = Button(~window, Rect( 10, 10, 50, 50))
        .states_([
            ["OFF", Color.white, Color.black],
            ["ON", Color.white, Color.red]
        ])

.action_({ arg butt;
    if( butt.value == 1,
        {
            "PLAYING".postln;
            ~x.sendMsg('/sin', '/play');
        },
        {
            "STOPPED".postln;
            ~x.sendMsg('/sin', '/stop');
        }
    );
});

~number = NumberBox(~window, Rect(10, 10 + 60, 50, 50));
~number.align = \center;
~number.value = 0;

~slider = Slider.new(~window, Rect(65, 10, 50, 200))
.action_({ |slider|
    var val = slider.value;

    ~x.sendMsg('/sin', '/vol', val.asFloat );
    ~number.value_(val); // update the gui

});

~window.front;
)